How to Install cPanel and WHM on Ubuntu 20.04
System Requirements
CPU: 2 Core minimum, 4vCore or more recommended
RAM: 1GB RAM minimum, 4GB or more recommended
Storage: 20GB or more
User: root
Prerequisites
- Deploy a new Ubuntu 20.04 server
- Server's IP Address should be static.
- Update your server using APT
Installing cPanel&WHM
Change the server hostname to a FQDN(Fully Qualified Domain Name). It can be like server.yourdomain.com or server1.yourdomain.com or any other subdomain. Run the following command to change the server hostname:
hostnamectl set-hostname server.yourdomain.com
Disable network firewall:
iptables-save > ~/firewall.rules
systemctl stop ufw.service
systemctl disable ufw.service
Ensure that curl is installed or install it using this command:
apt-get install curl -y
To begin cPanel&WHM Installation, run the following command:
cd /home && curl -o latest -L https://securedownloads.cpanel.net/latest && sh latest
Configure cPanel&WHM
After the installation is complete, reboot your server using:
reboot
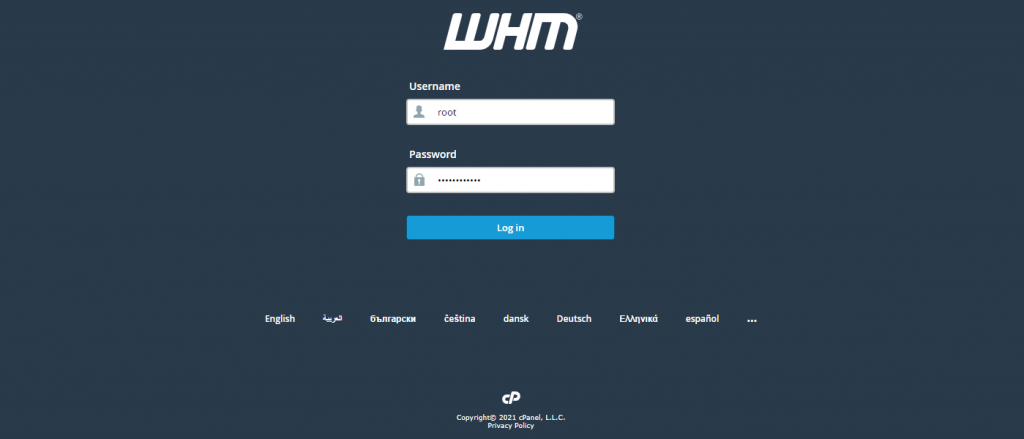
The installation is now complete. Login to WHM to configure the primary settings in WHM. Login using the link in your browser:
https://x.x.x.x:2087 (replace x.x.x.x with the IP address of your server)
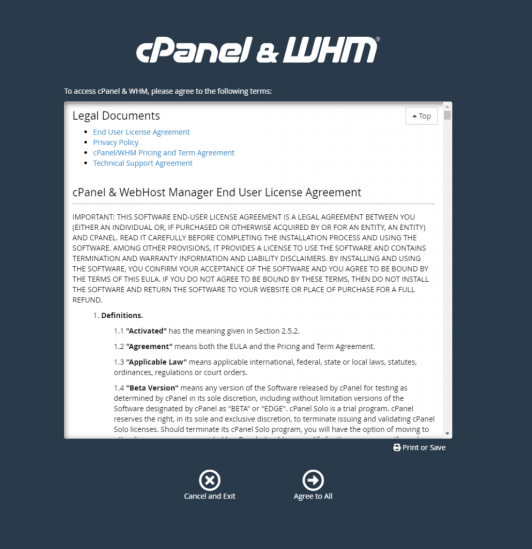
Read cPanel&WHM terms and agree to all
It will now ask you to Login to cPanel store in order to issue a trial license to the server IPv4 address. Create a new account if you are new to cPanel. After signup/signin, a new trial license(15 days) will be issued if no trial licenses were issued to the server.
Afterwards, it will ask you to enter an Email Address and Nameservers.
Email Address: It is recommended that Email address should be a business email as it will be displayed on DNS records as well. Try something like admin@yourdomain.com or webmaster@yourdomain.com. You can create these Email addresses later inside cPanel as well.
Nameservers: You can enter upto 5 nameservers but on this page, you can enter the first 2. You can keep them like ns1.yourdomain.com and ns2.yourdomain.com or anything of your choice.
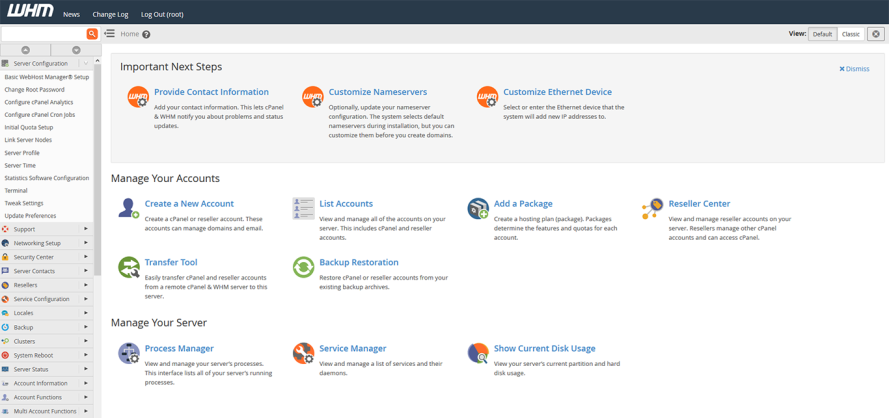
Congratulations! You have successfully installed cPanel&WHM. You can begin configuring and securing your server with the following options inside WHM:
- Basic WebHost Manager Setup
- Initial Quota Setup
- Tweak Settings
- Security Advisor
- MySQL/MariaDB Upgrade (You cannot upgrade to MariaDB in Ubuntu as cPanel supports MySQL 8 only in Ubuntu 20.04)
The following plugins and operating systems are recommended for secure cPanel&WHM Environment. These are paid plugins which help you managing your server security and backup. Here is the full list:
- CageFS (Comes with CloudLinux. Used to jail users to keep the server secure) [OPTIONAL]
- LetsEncrypt SSL (Free SSL Certificate for all users) [OPTIONAL]
- CSF (ConfigSecurity&Firewall)
- Imunify360 (Antivirus with Real-Time scan and Web Application Firewall)
- JetBackup (Automated Backups with all options like restore, download and much more)
You can install SSL certificate on Hostname by using the following commands:
/usr/local/cpanel/bin/checkallsslcerts
This will issue an SSL Certificate from cPanel Store.
Common Commands
Start cPanel Service:
service cpanel start
Restart cPanel Service:
/scripts/restartsrv_cpsrvd
(You can also use this command if cPanel services are failing to start. This scripts also fixes potential issues leading to cPanel crashing.)
Update cPanel License Key:
/usr/local/cpanel/cpkeyclt
Rebuild HTTPD Configuration:
/scripts/rebuildhttpdconf


